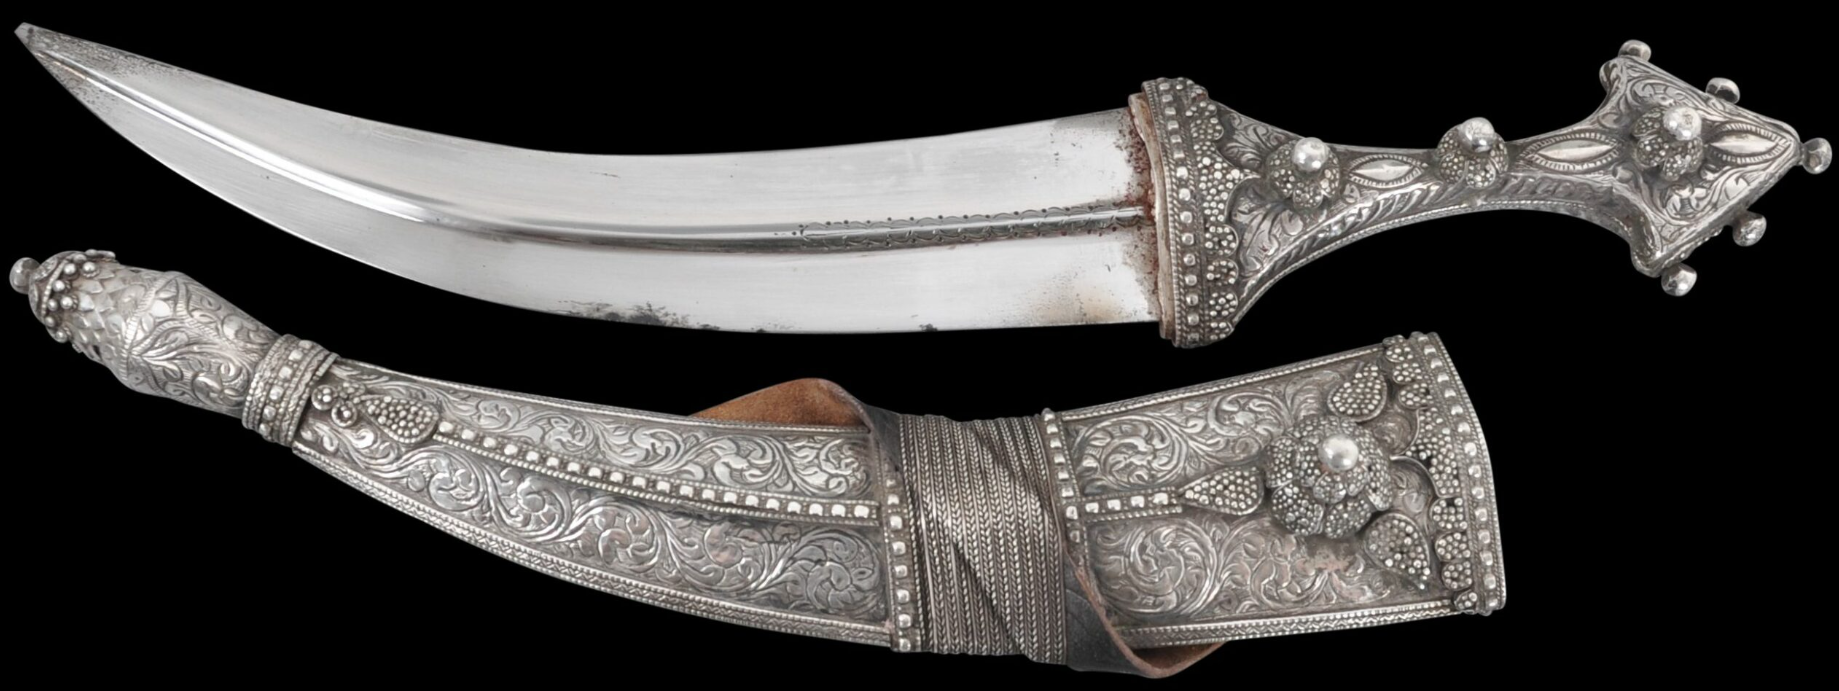
You bought a khanjar sword. Now it’s lying in a drawer or leaning against a wall. This is wrong. The curved blade with its characteristic T-shaped pommel deserves proper presentation. But you don’t have a huge workshop or unlimited budget. You need a practical solution for limited space.
This guide shows how to build a wall-mounted stand and display case specifically for the khanjar’s unique geometry. No complicated tools. Just basic woodworking skills and attention to the blade’s cultural significance.
Why Standard Holders Don’t Work for Khanjars
Regular sword racks don’t work with khanjars. The extreme blade curve (often 30-40 degrees) means it slides off flat pegs. Weight distribution is different too. The heavy silver pommel and handle shift the balance point forward, unlike straight European swords.
The scabbard matters too. Traditional khanjar scabbards are richly decorated with silverwork and often as valuable as the blade itself. Your display must support both pieces without creating pressure points that can damage the metal finish over time.
Understanding Khanjar Geometry Before Starting Work
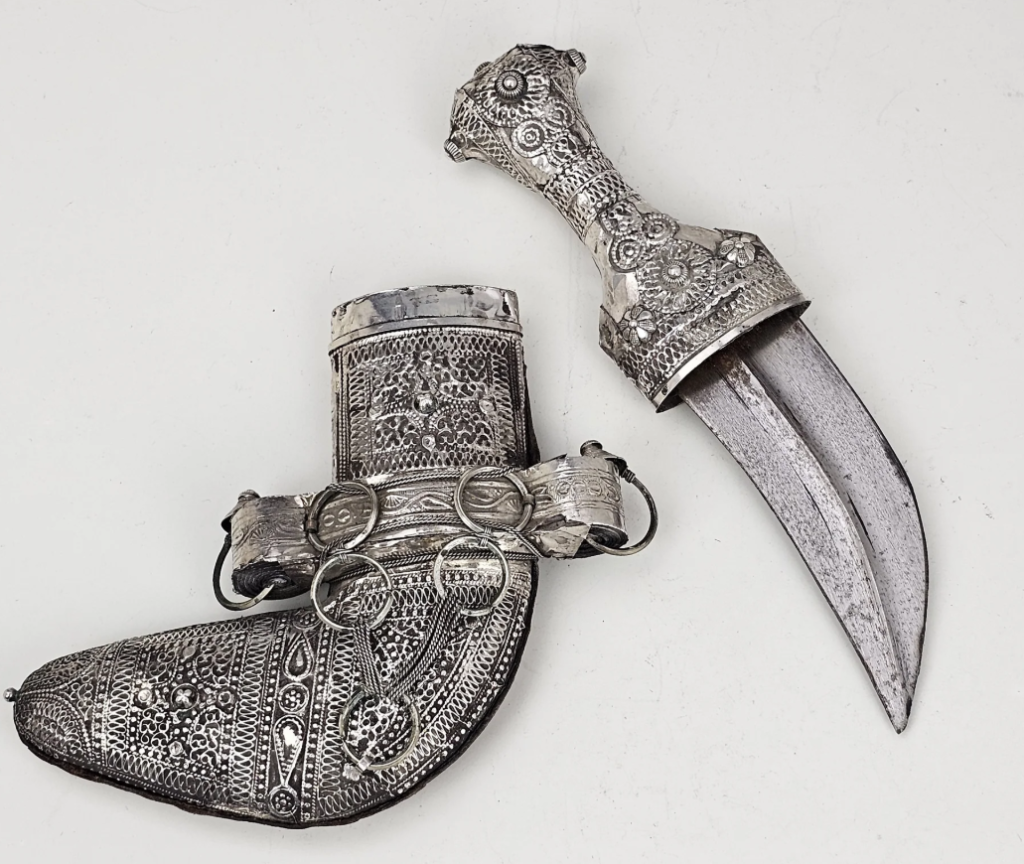
The khanjar blade’s double curve creates specific support requirements. The blade curves back toward the handle, then curves again at the point. This S-shape means you need at least two contact points positioned at the blade’s natural stress points.
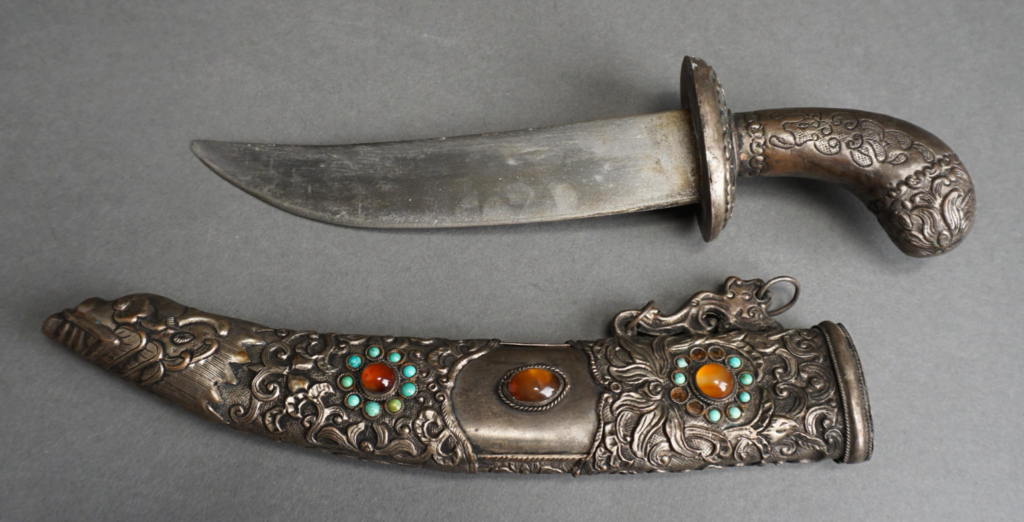
First measure your specific khanjar. Blade length typically ranges from 25 to 40 centimeters. Curve radius differs between Arabian, Persian, and Omani styles. The Omani khanjar has a steeper curve than the Saudi variant. Your measurements determine the holder design.
The pommel weighs 200 to 400 grams depending on silver content. This weight pulls backward when wall-mounted. The mounting angle must compensate for this, or the blade will tilt forward over time.
Materials for Working in Limited Space
You need wood that’s stable and won’t warp. Hardwoods like walnut or cherry look appropriate for Middle Eastern blades, but they’re expensive and difficult to work without power tools. Here’s what actually works:
- Poplar is easy to work, stains well to resemble darker woods, and costs 300-450 rubles per board. It’s stable enough for displays and light enough that wall mounts hold securely.
- Baltic birch plywood 12 mm thick provides strength without bulk. Multiple layers prevent warping. A 60×120 centimeter sheet costs about 1500 rubles and provides material for three stands.
- Acrylic sheet: For the display case you need clear acrylic or glass. Acrylic is safer in small workshops. It can be cut with a scoring knife. A 30×45 centimeter acrylic sheet 3 mm thick costs 900-1200 rubles at hardware stores.
- Leather scraps: Avoid felt or velvet contact points. They trap moisture against metal. Use vegetable-tanned leather instead. Scraps at craft stores cost 200-300 rubles.
Basic Wall Mount: Step-by-Step Construction
Start with the back panel. Cut wood 35 centimeters high by 20 centimeters wide. This size fits most khanjars and fits between standard wall studs. Sand the back panel with 220-grit sandpaper. Apply finish now, before assembly. Let dry completely (minimum 24 hours).
Creating the blade holder:
- Cut two support blocks from 12 mm material. Each block should be 5 cm long, 2.5 cm wide, and 12 mm thick. Round the top edges with sandpaper.
- Position the first block 10 cm from the bottom of the back panel. The second block goes 20 cm from the bottom.
- Drill pilot holes through the back panel into each block. Use wood glue and 25 mm screws for attachment.
- Cut leather strips 7.5 cm long and 2.5 cm wide. Wrap each support block with leather, securing with contact cement only on the back side.
Pommel support:
The pommel needs its own support. Cut a small shelf 7.5 cm wide and 5 cm deep. Attach it 5 cm from the top of the back panel. Angle it slightly upward (about 5 degrees) so the pommel naturally settles into it without sliding. Cover this shelf with leather as well.
Wall mounting:
Use two keyhole hangers on the back, positioned to hit wall studs. Drywall anchors alone will fail within months. Install the back panel at eye level, tilted back 10 degrees from vertical. This angle counteracts the pommel weight.
Building a Display Case: Protection Without Bulk
A full display case protects from dust and curious hands. In a small workshop you build this in sections, then assemble.
Frame construction:
Cut four pieces of poplar 25×50 mm for the frame sides. Two pieces 40 cm (vertical), two 25 cm (horizontal). Miter corners at 45 degrees. Glue and clamp the frame. Use corner brackets on the back for extra strength.
Mounting board:
This sits inside the frame. Cut the back panel to interior dimensions (approximately 35×20 cm). Build the khanjar holder on this board using the same method described above.
Adding acrylic front:
Measure the frame’s front opening. Add 6 mm to each dimension. Cut acrylic sheet to this size using a scoring knife. Drill small pilot holes in each corner of the acrylic, 12 mm from edges. Use 12 mm screws with decorative washers to attach acrylic.
Ventilation matters:
Drill three 6 mm holes in the frame’s bottom edge, evenly spaced. Drill three matching holes in the top edge. This creates airflow that prevents moisture buildup and corrosion on silver parts.
How to Mount the Scabbard Separately
The scabbard deserves its own display position. Mount it below the blade, slightly offset right or left. Cut a simple scabbard holder from a 10 cm piece of wood. Cut a shallow groove along its length matching the scabbard’s curve. Line this groove with leather. Attach this holder to the back panel at a complementary angle to create an S-pattern.
Evolution of Blade Display Methods
- Traditional (Pre-1970s): Stored horizontally in cloth-lined boxes. Protected but hidden.
- Vertical Pegs (1970s): Simple dowels projecting from boards. Damaged blades over time due to pressure points.
- Horizontal Cases: Museum-style, but required significant wall space.
- Acrylic Stands (1990s): Modern but unstable; blades often slid off.
- Modern Best Practice: Combines angled presentation, multiple support points, and ventilation.
Common Mistakes That Damage Khanjars
- Mounting at wrong angle: Perfectly vertical mounting causes pommel weight to pull the blade forward. Over months, this can loosen the tang. A specialist repair costs 15,000-30,000 rubles. Solution: Mount at 10-15 degrees back.
- Using metal contact points: Metal-on-metal contact creates galvanic corrosion. You’ll see green oxidation within six months. Solution: Always use leather or cork.
- Ignoring humidity: Leave a 1.5 mm gap on each side of the blade in the holder to allow for wood expansion without bending the blade.
Optimizing Workshop Space for Multiple Displays
Mount displays in a grid pattern with 45 cm between centers. This gives each piece visual breathing room. Build displays in batches (cut all back panels at once, then all blocks) to save time and ensure consistency.
Advanced Detail: The Lighting Question
- LED strips: Use warm white light (2700K). Cool white makes silver look bluish.
- Position: 15 cm above the case, angled down at 45 degrees.
- The Tradeoff: LEDs generate heat. For antique blades with original patina, skip the light to avoid temperature cycling and corrosion.
Material Comparison: Choosing Build Components
| Material | Cost per display | Workability | Durability | Best for |
| Solid walnut | 2500-3500 rub | Difficult (requires sharp tools) | Excellent (50+ years) | Heirloom displays |
| Poplar | 900-1400 rub | Easy (basic tools) | Good (20+ years) | Most home workshops |
| Baltic birch plywood | 600-900 rub | Very easy (no tearout) | Excellent (30+ years) | Modern aesthetic |
| Acrylic sheet | 900-1200 rub | Moderate (requires technique) | Good (scratches) | Dust protection |
| Glass | 1500-2100 rub | Difficult (special tools) | Excellent (clarity) | Premium displays |
Engineering Reality of Supporting Curved Blades
Supporting a curved blade is counterintuitive. A khanjar has a balance point, but the curve creates a moment arm. You need minimum two supports positioned at the curve’s inflection points:
- Support 1: 30% of blade length from the guard.
- Support 2: 70% of blade length from the guard.
“The biggest mistake I see is over-supporting antique khanjars. Each contact point traps microscopic moisture. I’ve restored blades where the support points showed clear corrosion patterns while the rest of the blade was pristine. Maximum two supports for the blade itself.”
— James Morrison, antique arms conservator at the Wallace Collection
Final Assembly and Quality Check
- Stress Test: Test the holder with a heavy object (like a wrench) for 24 hours.
- Safety: Ensure screw heads are flush or recessed.
- Stability: Pull the mounted case hard; it shouldn’t move.
- Cleaning: Clean acrylic only with microfiber and water.
What This Display Actually Achieves
You’ve created a presentation system that respects the khanjar’s cultural significance while working within real constraints of space and budget. Your khanjar now has the display it deserves: properly mounted, properly ventilated, and properly preserved.